
category
type
status
date
slug
summary
tags
password
Property
Mar 15, 2023 03:55 AM
icon
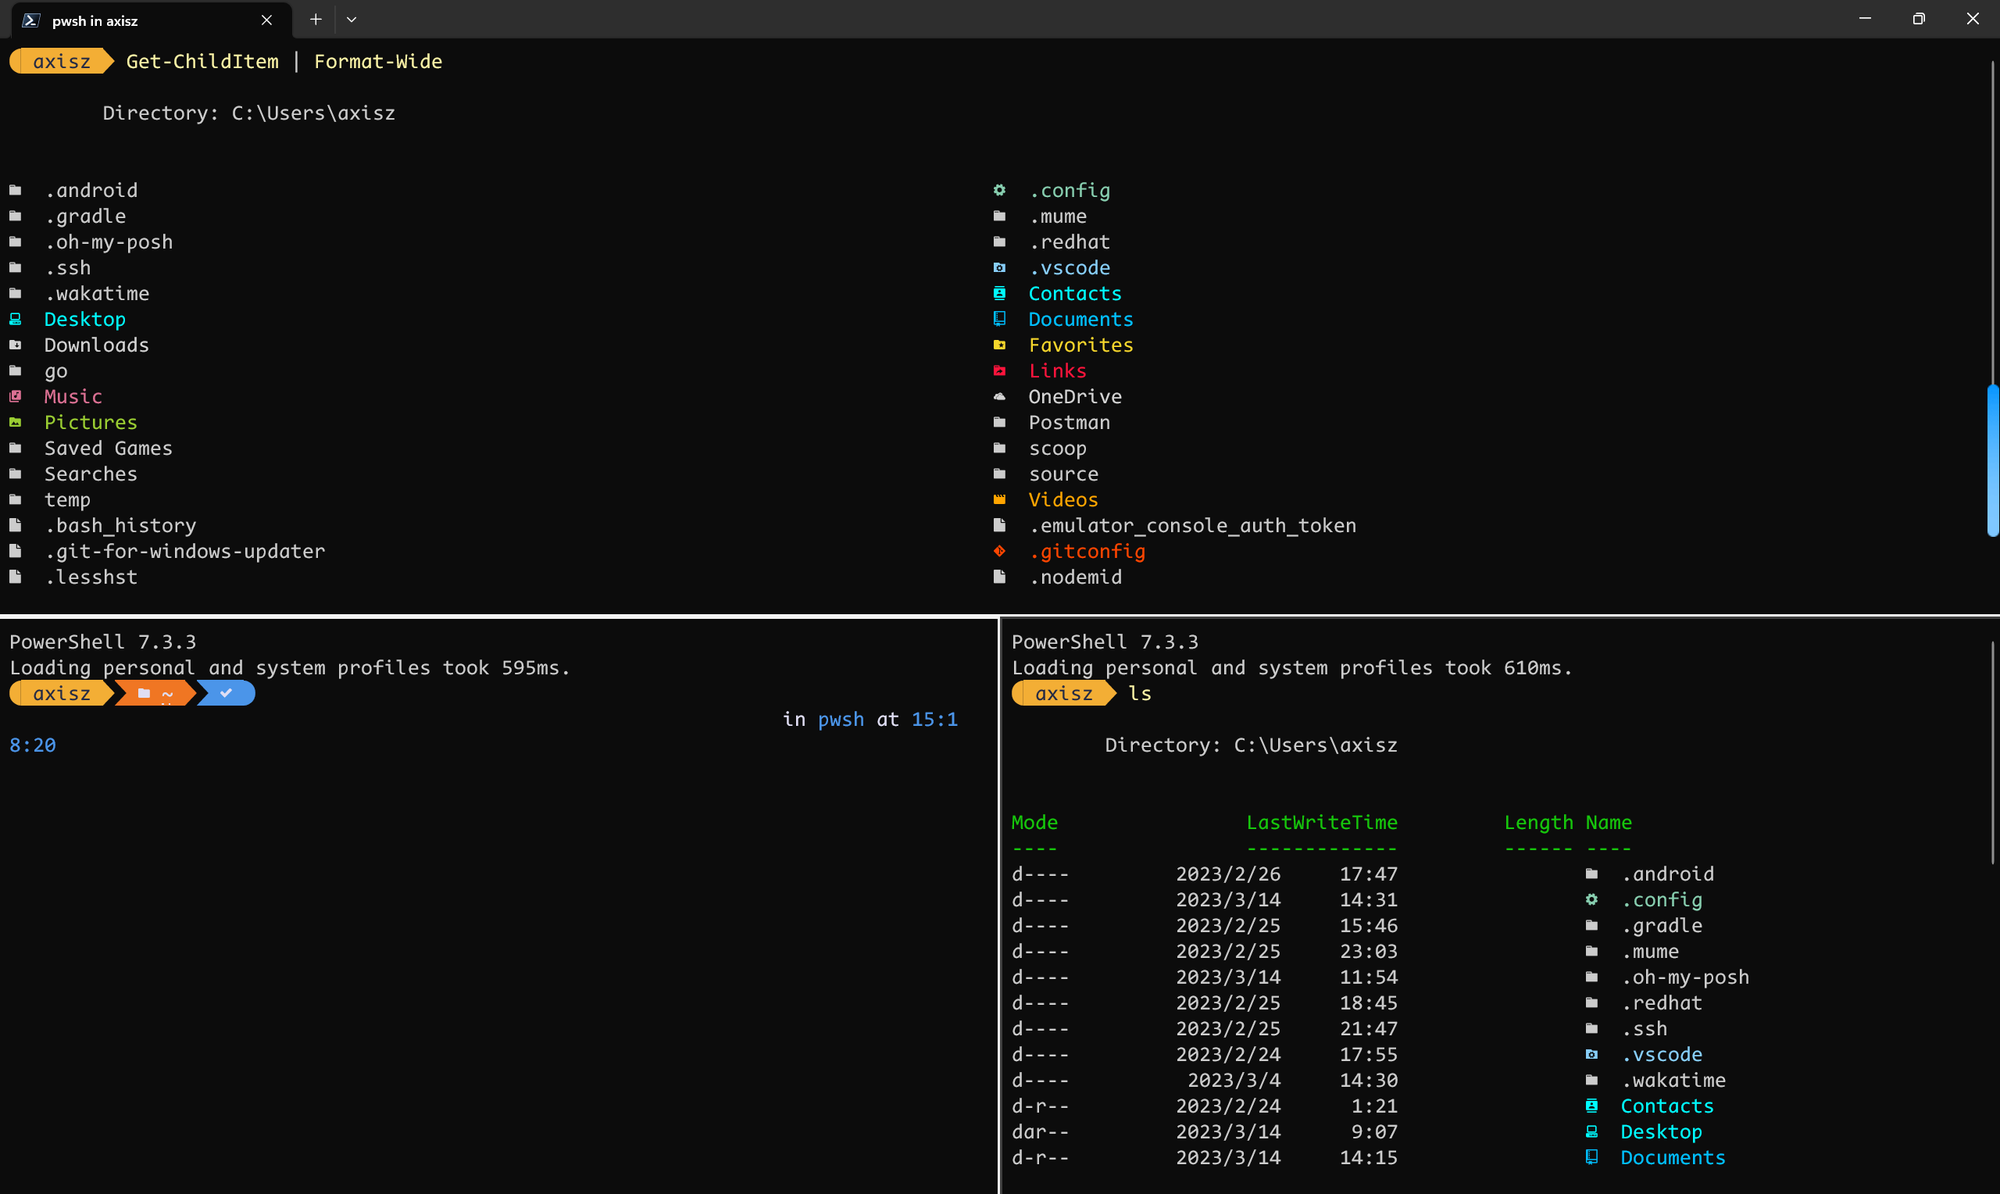
效果预览

安装流程
安装PowerShell 7
- 选择PowerShell 7的原因:在安装Oh My Posh的过程中产生的问题相比window自带版本的PowerShell问题更少,对Oh My Posh更加兼容。
- 本人推荐使用7.3.3版本【2023-3-15,该版本是最新的稳定版】 https://github.com/PowerShell/PowerShell/releases/download/v7.3.3/PowerShell-7.3.3-win-x64.msi
- 安装流程:无脑安装,把能选的框都勾选,疯狂下一步,Finish!
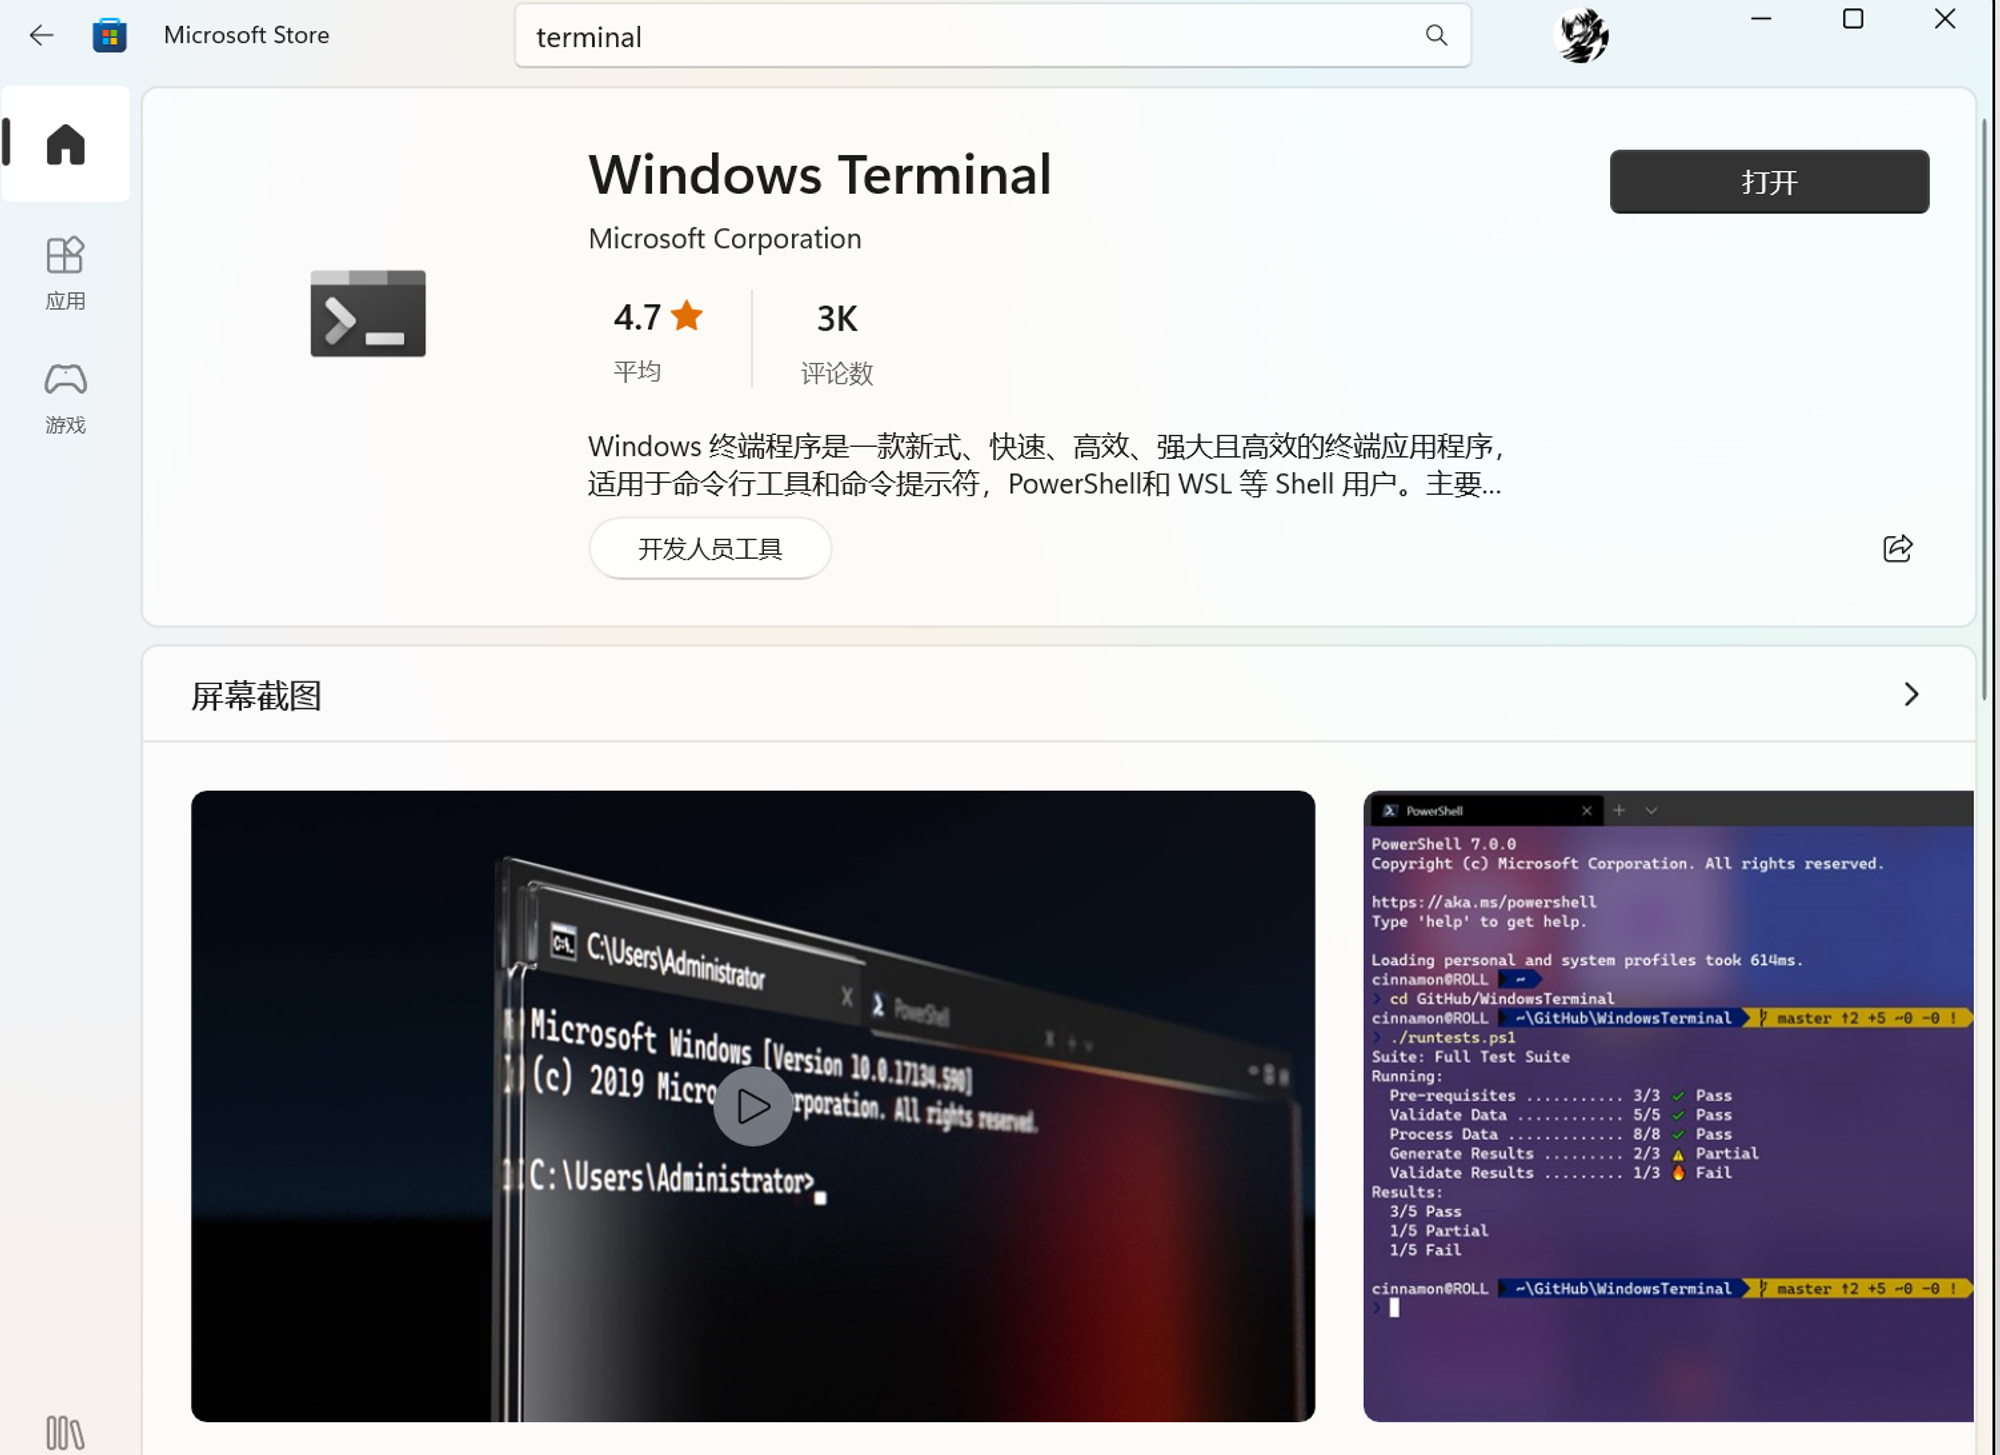
安装Windows Terminal
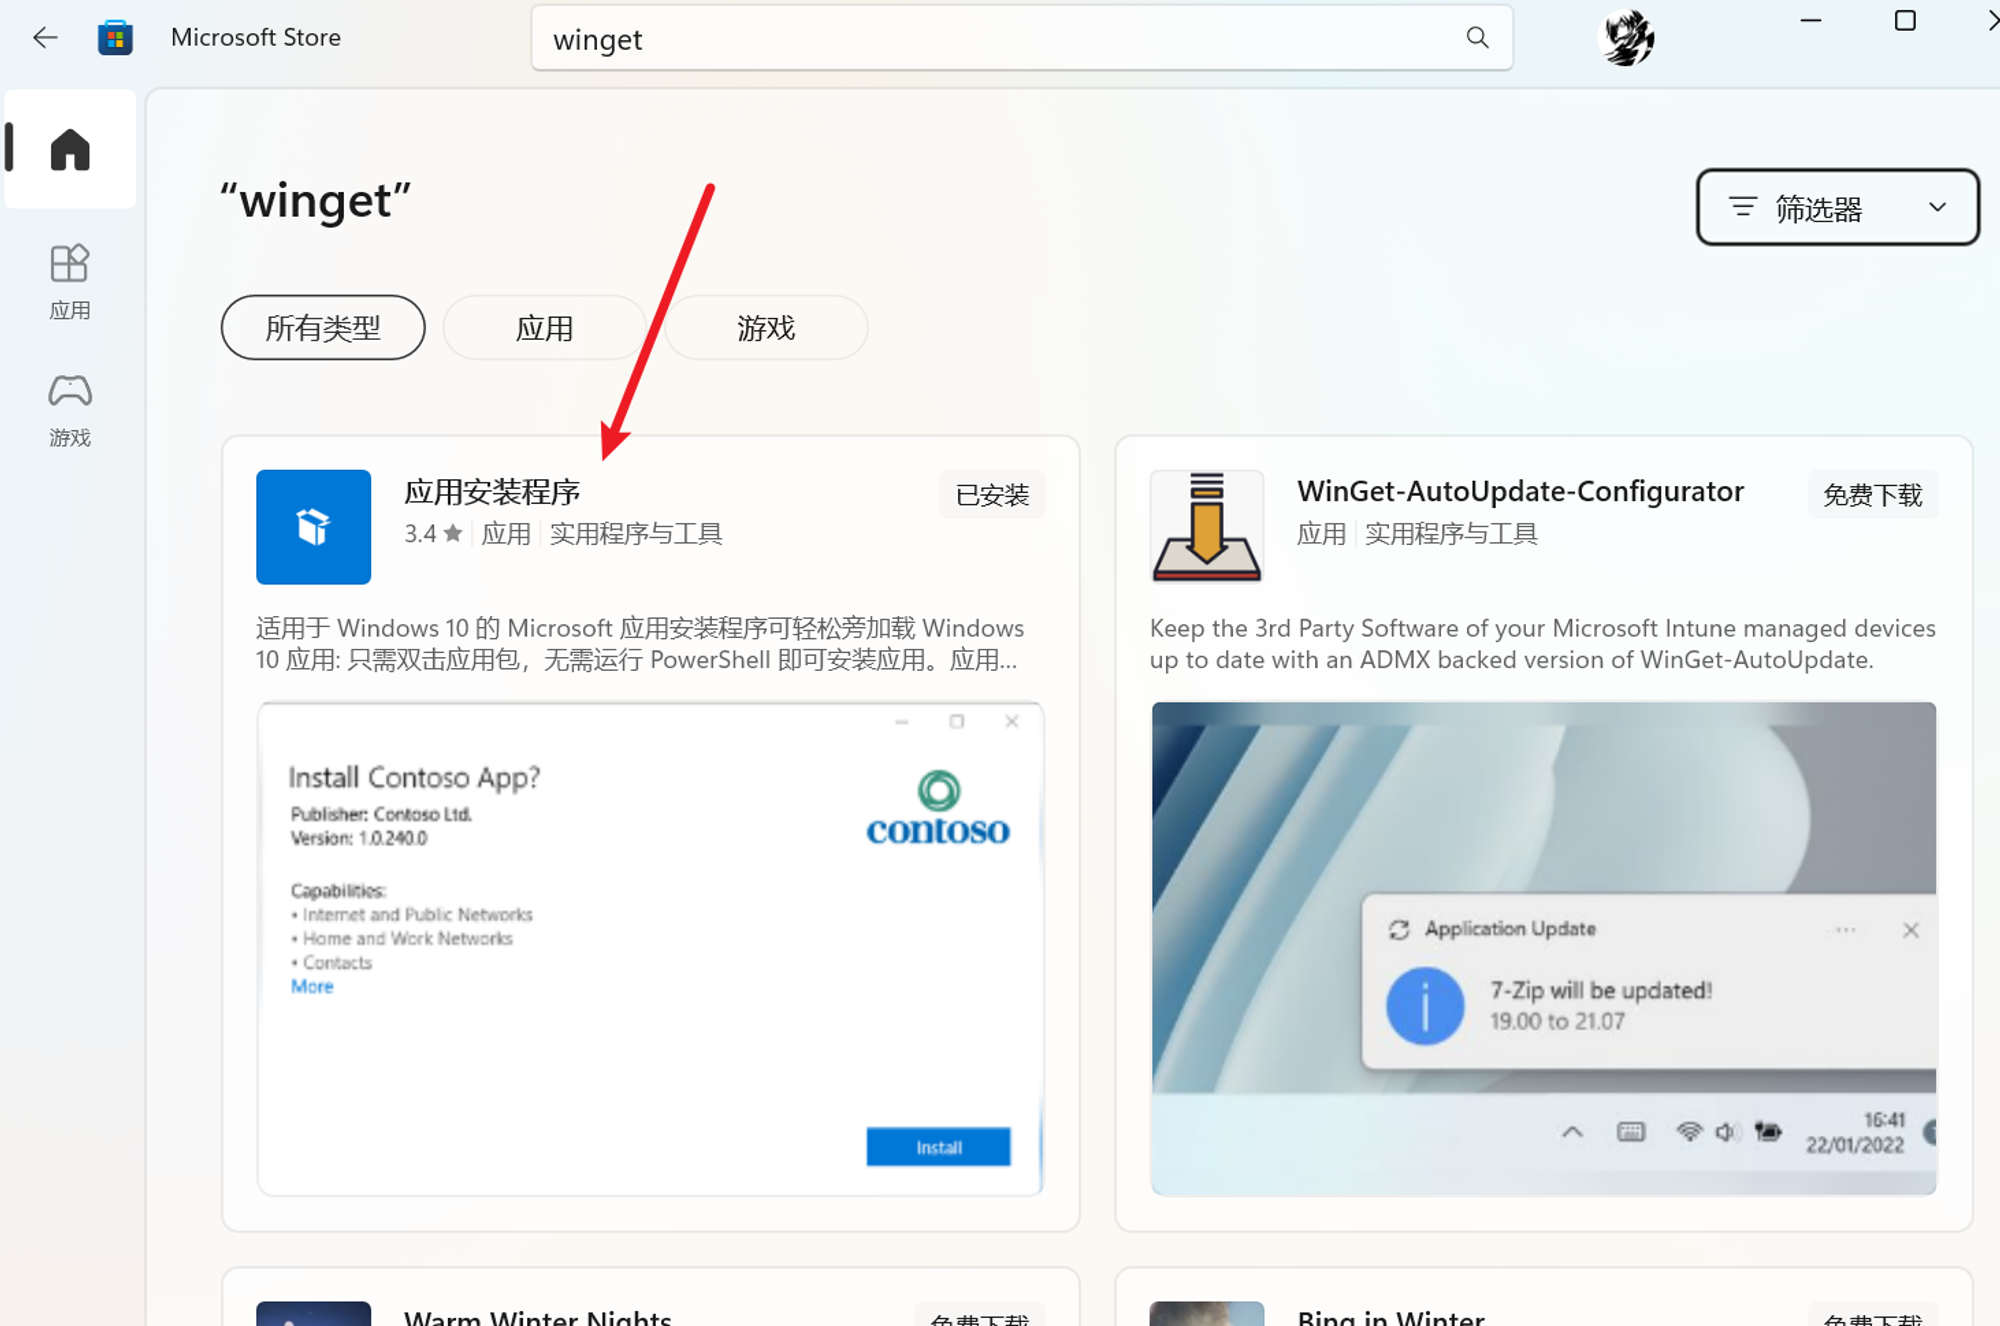
安装winget
在MicroSoft Store中即可安装
在PowerShell中安装Oh My Posh
- 使用winget下载安装
- 防止Windows杀毒进程误杀
ANTIVIRUS SOFTWAREDue to frequent updates of Oh My Posh, Antivirus software occasionally flags it (false positive). To ensure Oh My Posh isn't blocked you can either report it to your favorite Antivirus software as false positive (e.g. Report a false positive/negative to Microsoft for analysis) or create an exclusion for it. Exclusions should be added with the full path to the executable, you can get it with the following command from a PowerShell prompt:
下载安装Oh My Posh需要的Nerd Font字体
- 这里我选择安装的字体是CodeNewRoman Nerd Font字体 https://github.com/ryanoasis/nerd-fonts/releases/download/v2.3.3/CodeNewRoman.zip
- 在Terminal中设置默认字体为CodeNewRoman Nerd Font Mono


在PowerShell中配置Oh My Posh
- 显示你当前使用的终端类型
- 编辑PowerShell配置文件
如果提示文件不存在则执行如下命令创建
最后在配置文件中加入如下内容后保存即可
👀ANTIVIRUS SOFTWARE
If adding an exception to your Antivirus software still blocks Oh My Posh for Windows, you can try using the below alternate line in your PowerShell profile. This is a drop-in replacement to the above call with Invoke-Expression. Tested with PowerShell 7.2.4 with Bitdefender Antivirus installed and requires NO exceptions for oh-my-posh.exe. Bitdefender blocks the calls to Invoke-Expression as malicious code and this alternate line skips the double calls:
重载配置文件使配置生效
- 如果提示:
无法加载文件C:\Users\xxx\Documents\WindowsPowerShell\profile.ps1,因为在此系统上禁止运行脚本,可以参考如下文章的解决方法:
- 安装成功后重启Terminal就行了:
安装Terminal Icon
直接参考Terminal Icon官方repository提供的方法就行了【官方仓库是使用scoop安装的,官方也给出了scoop的安装方法】
Terminal-Icons
devblackops • Updated Aug 30, 2023
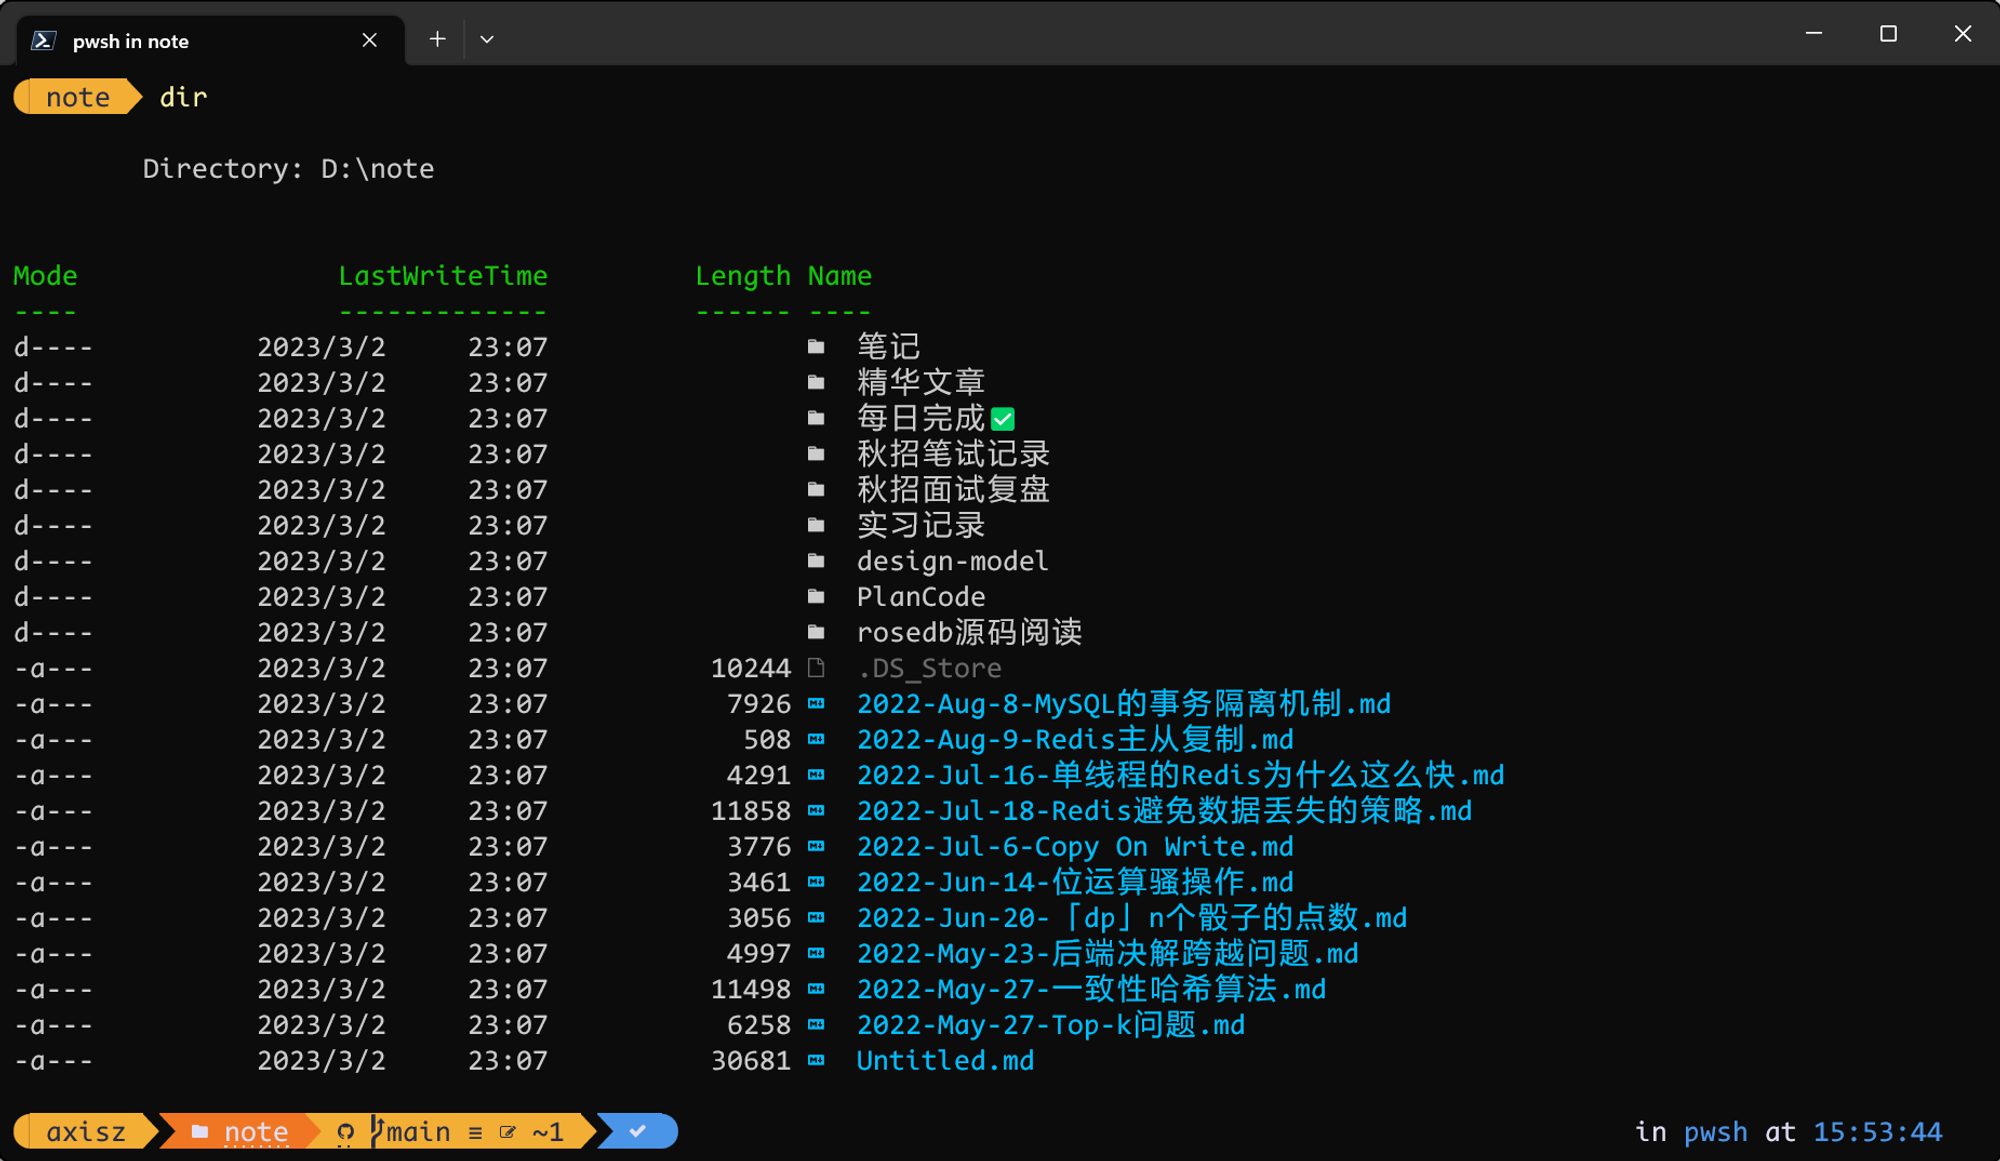
- 安装成功后,执行
dir命令列出的文件都会自带图标了
切换主题
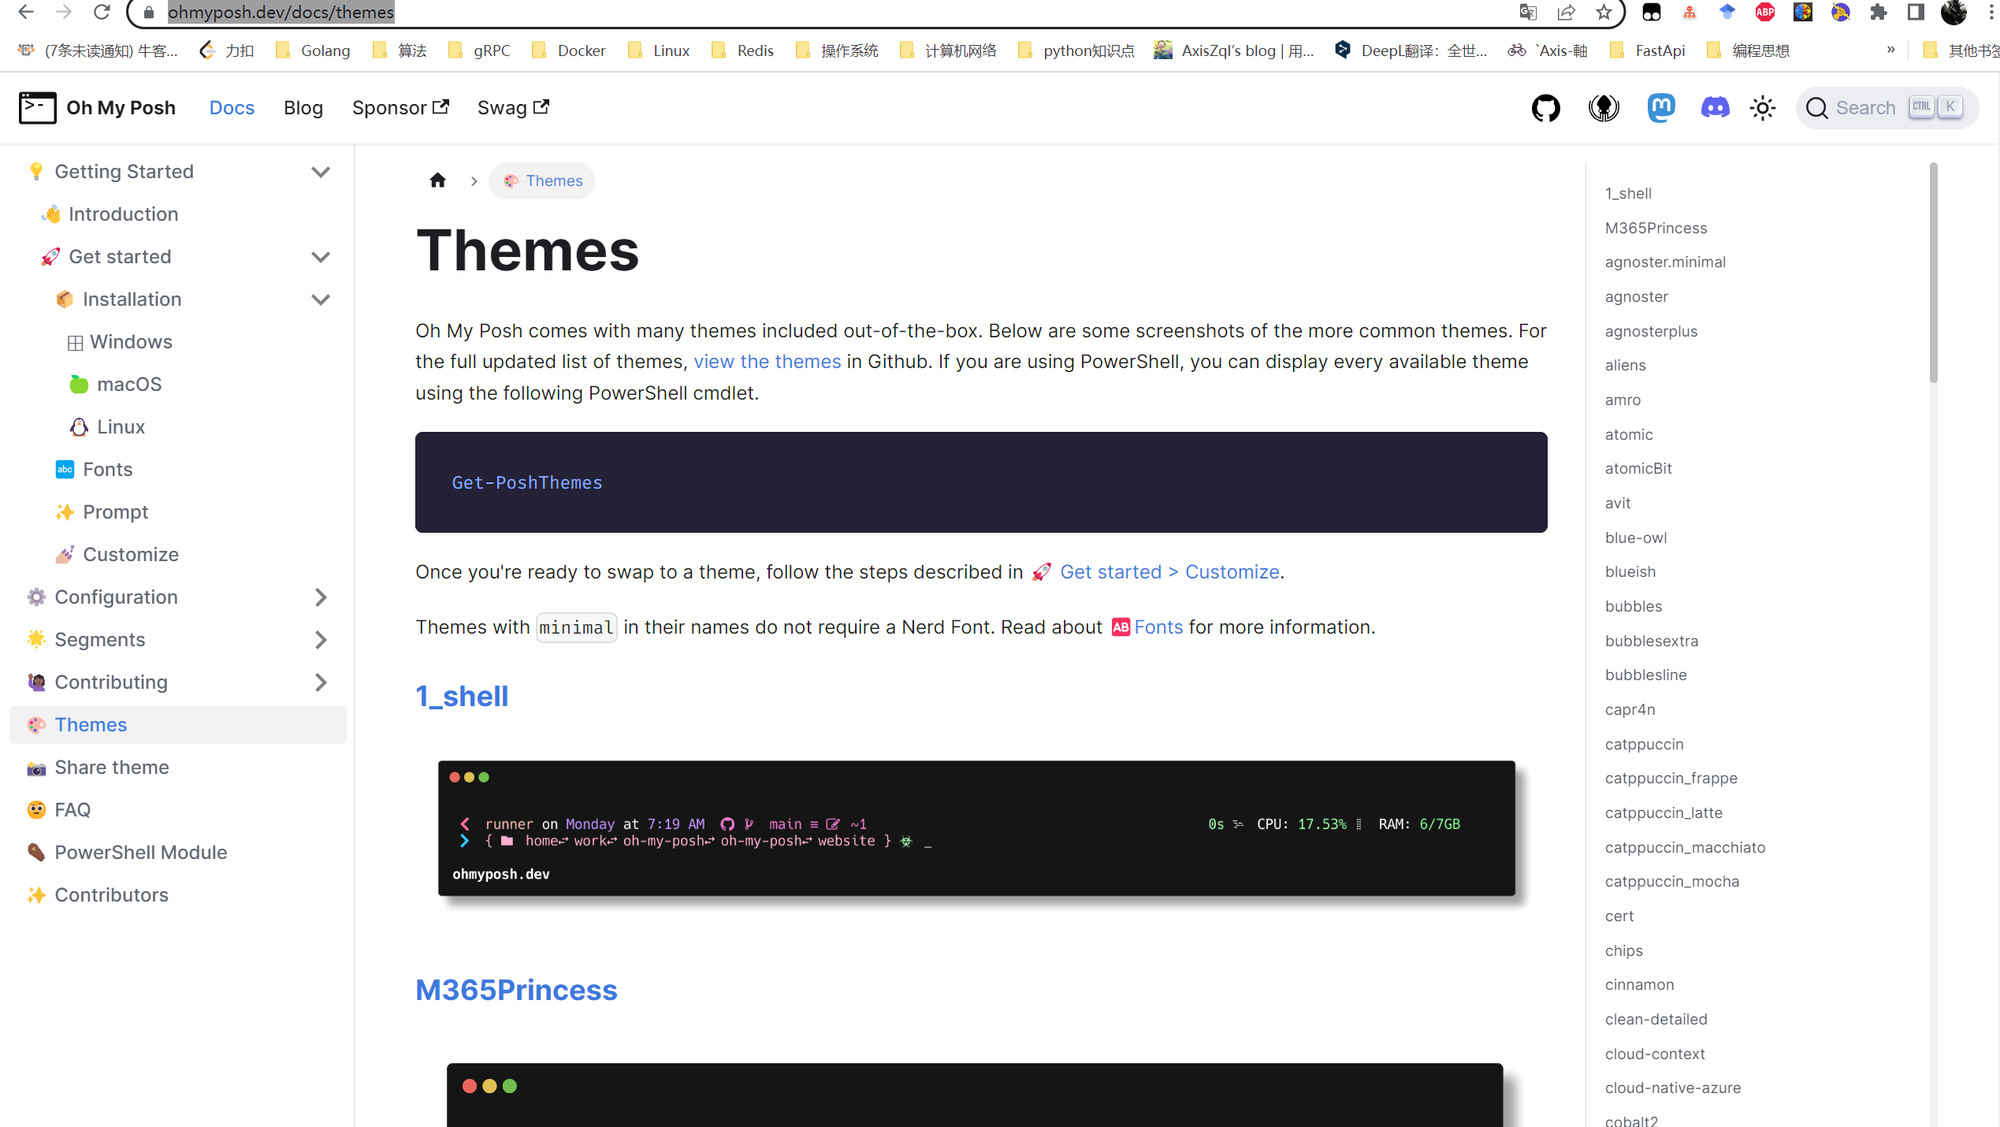
- Oh My Posh官方主题库

- 方法:在$PROFILE目录下的Microsoft。PowerShell_profile.ps1中添加如下目标主题配置
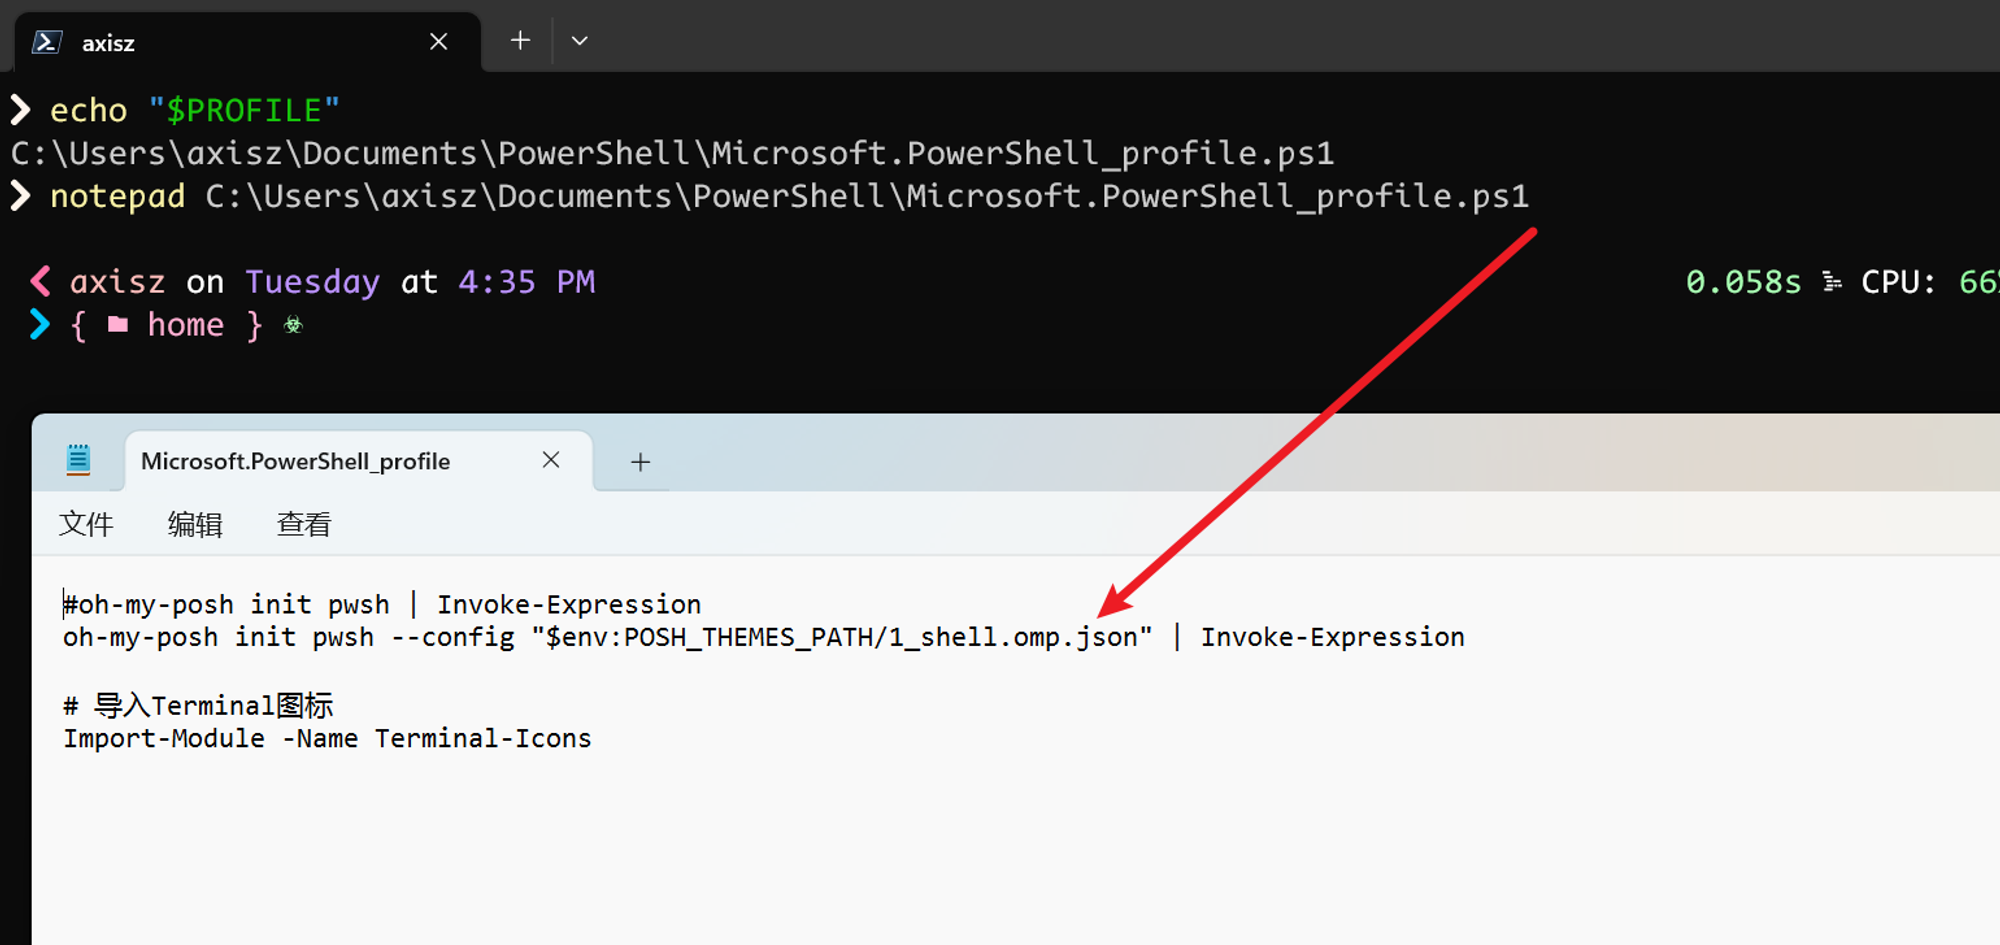
- 保存文件后在PowerShell中执行
. $PROFILE即可生效。
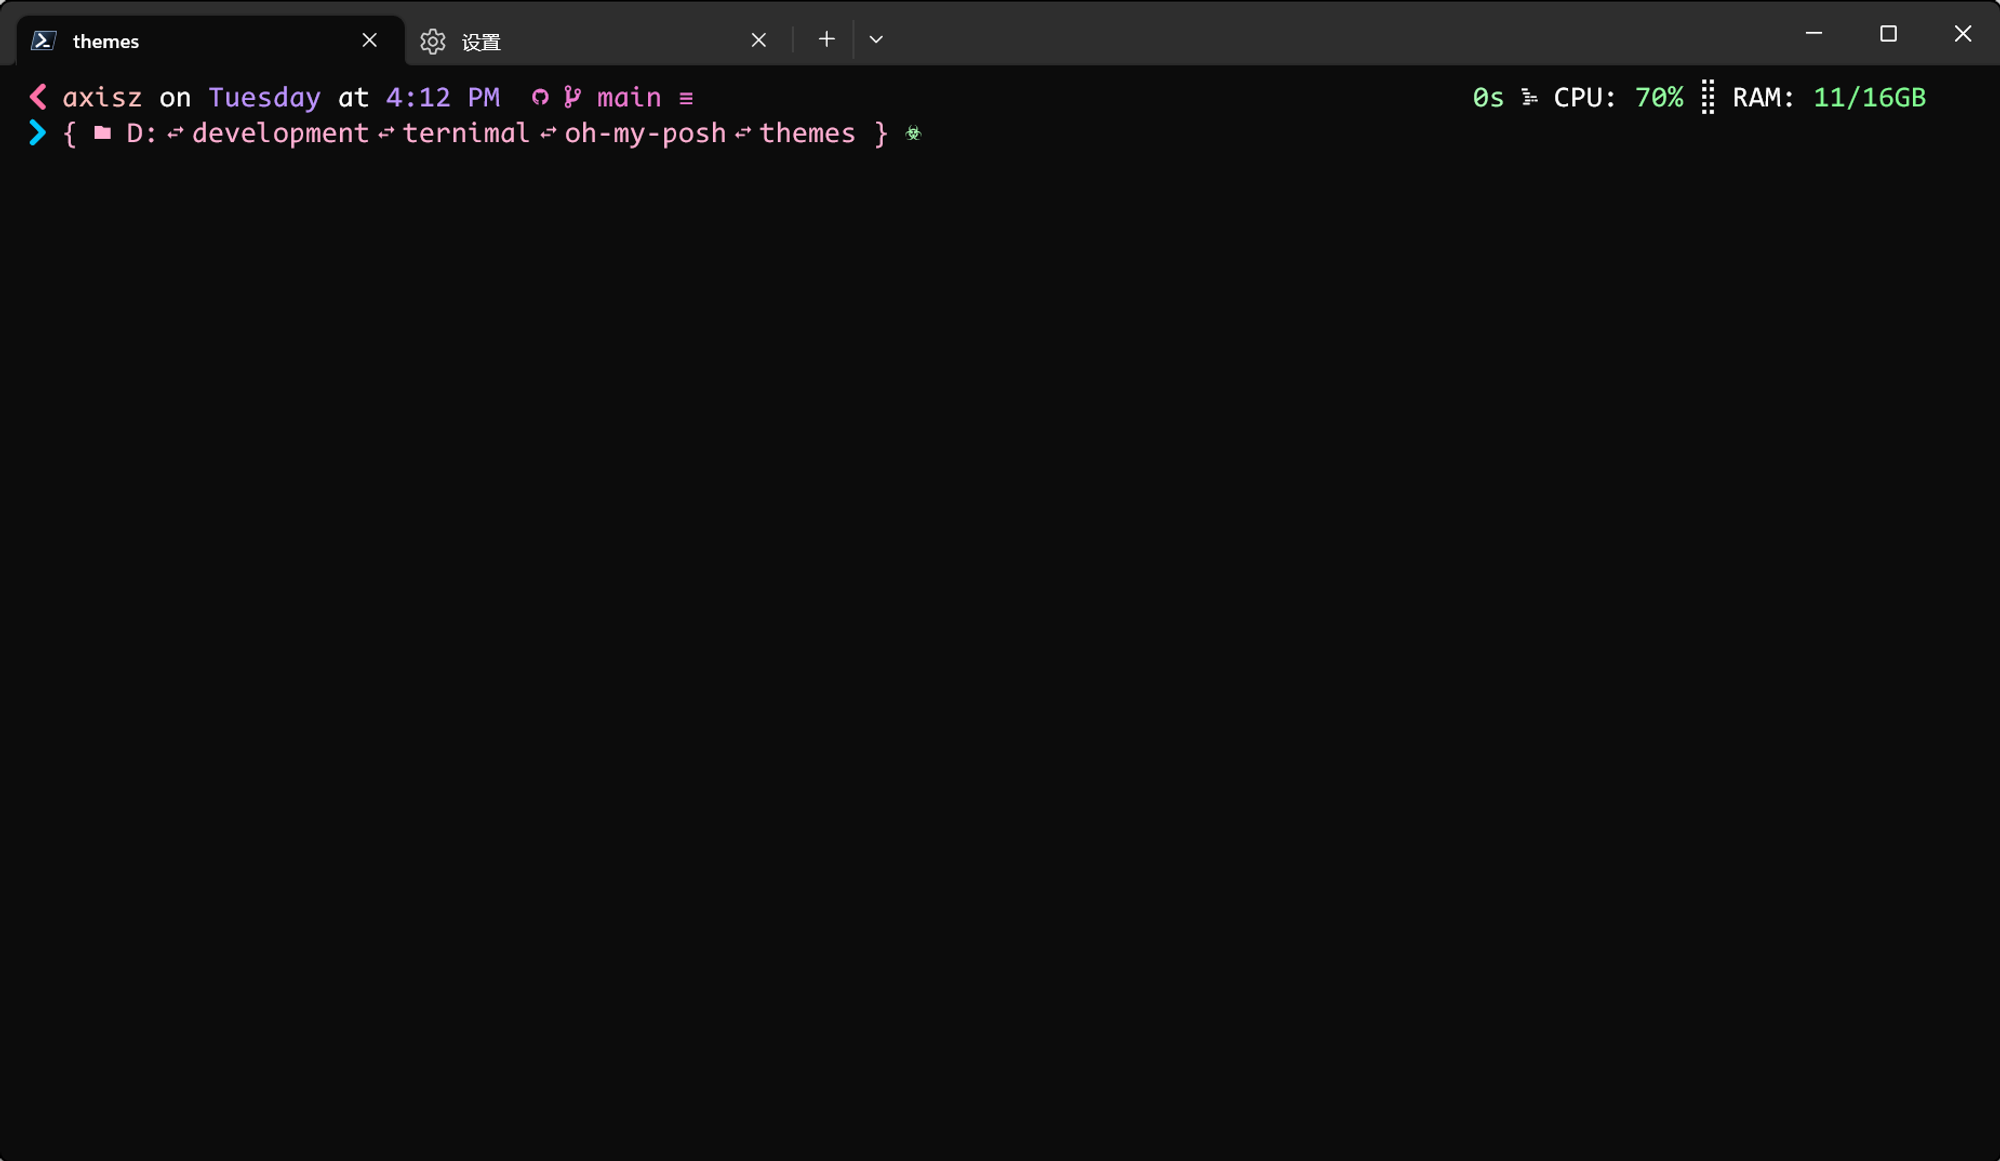
- 以下是我使用1_shell主题的效果
terminal使用小技巧
- 快速在屏幕顶部呼出terminal

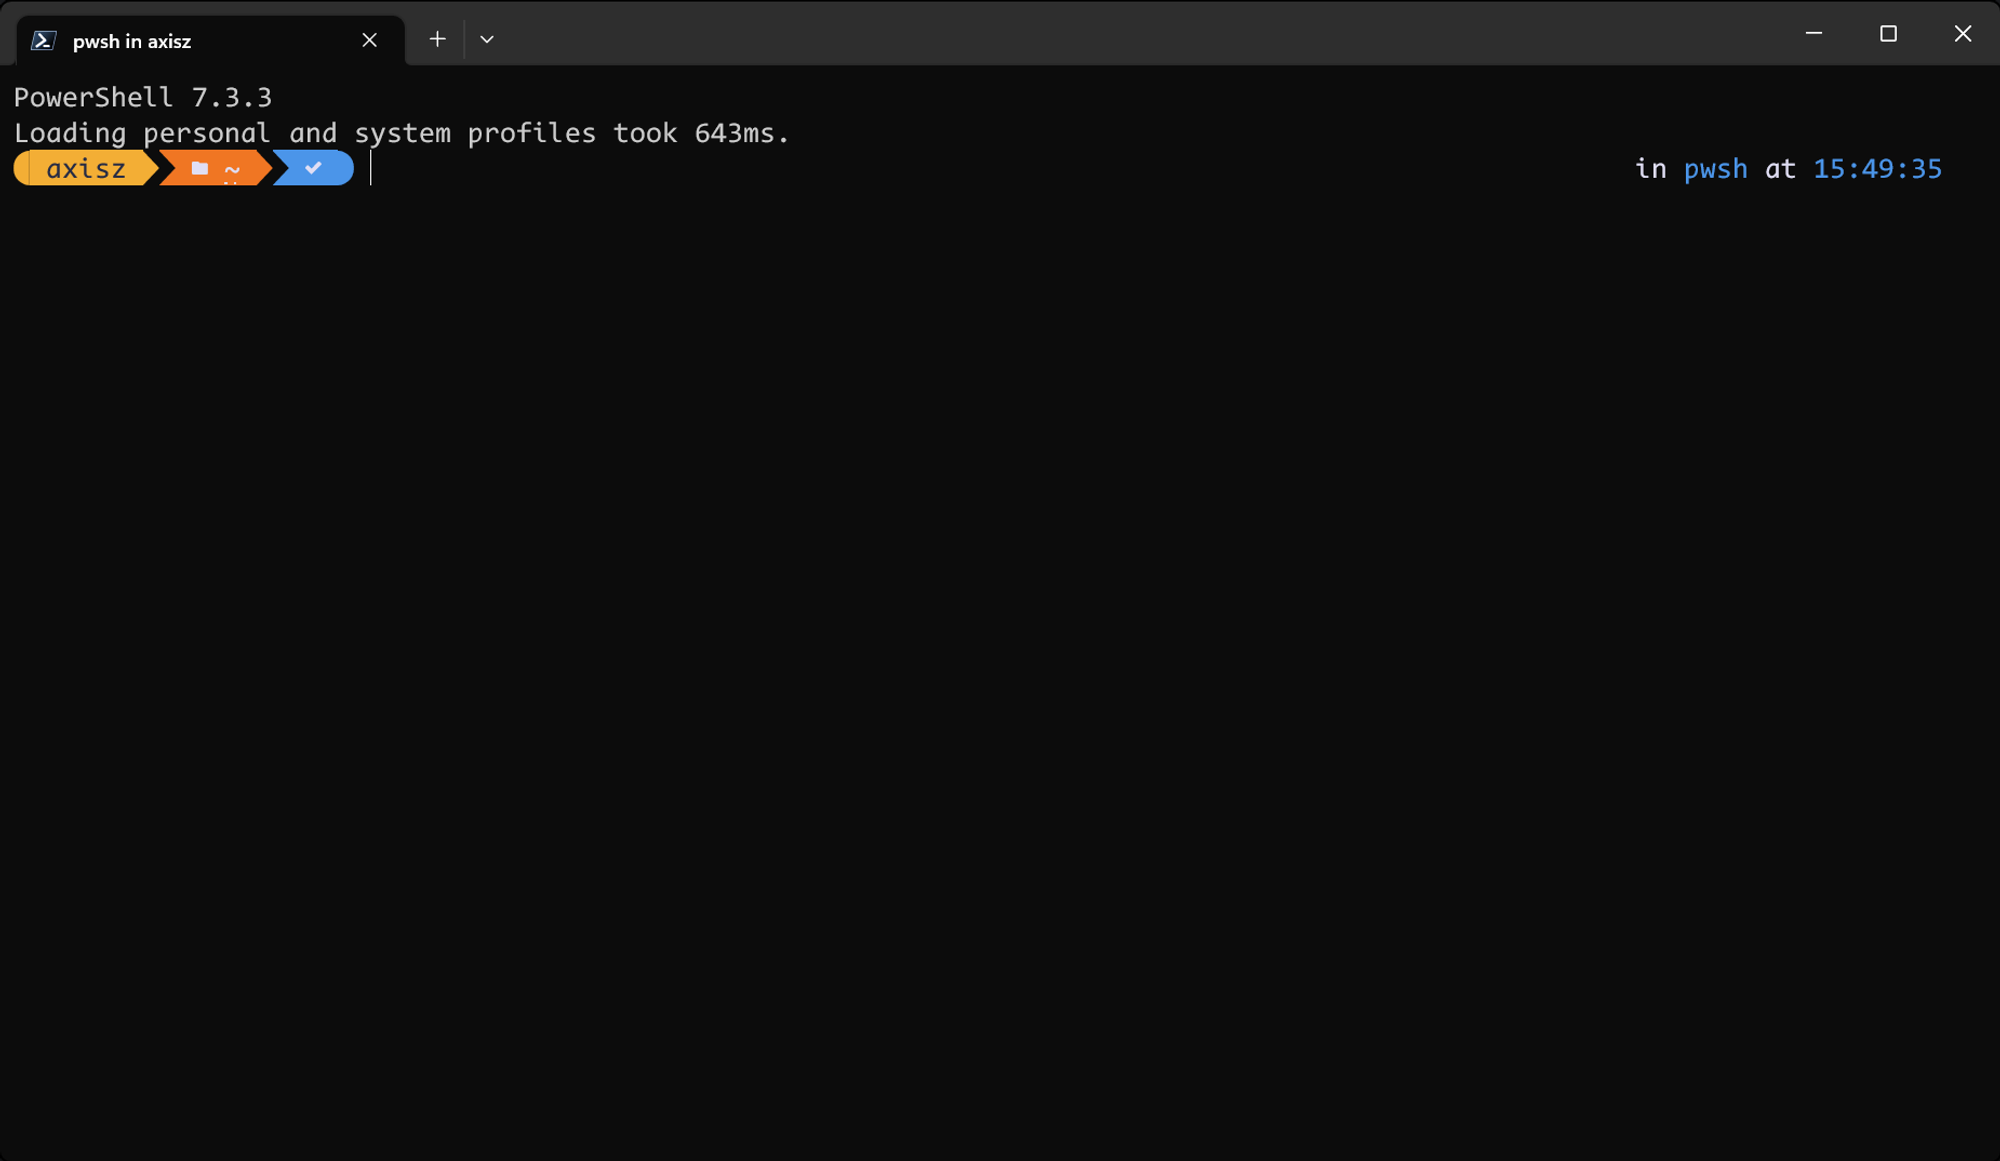
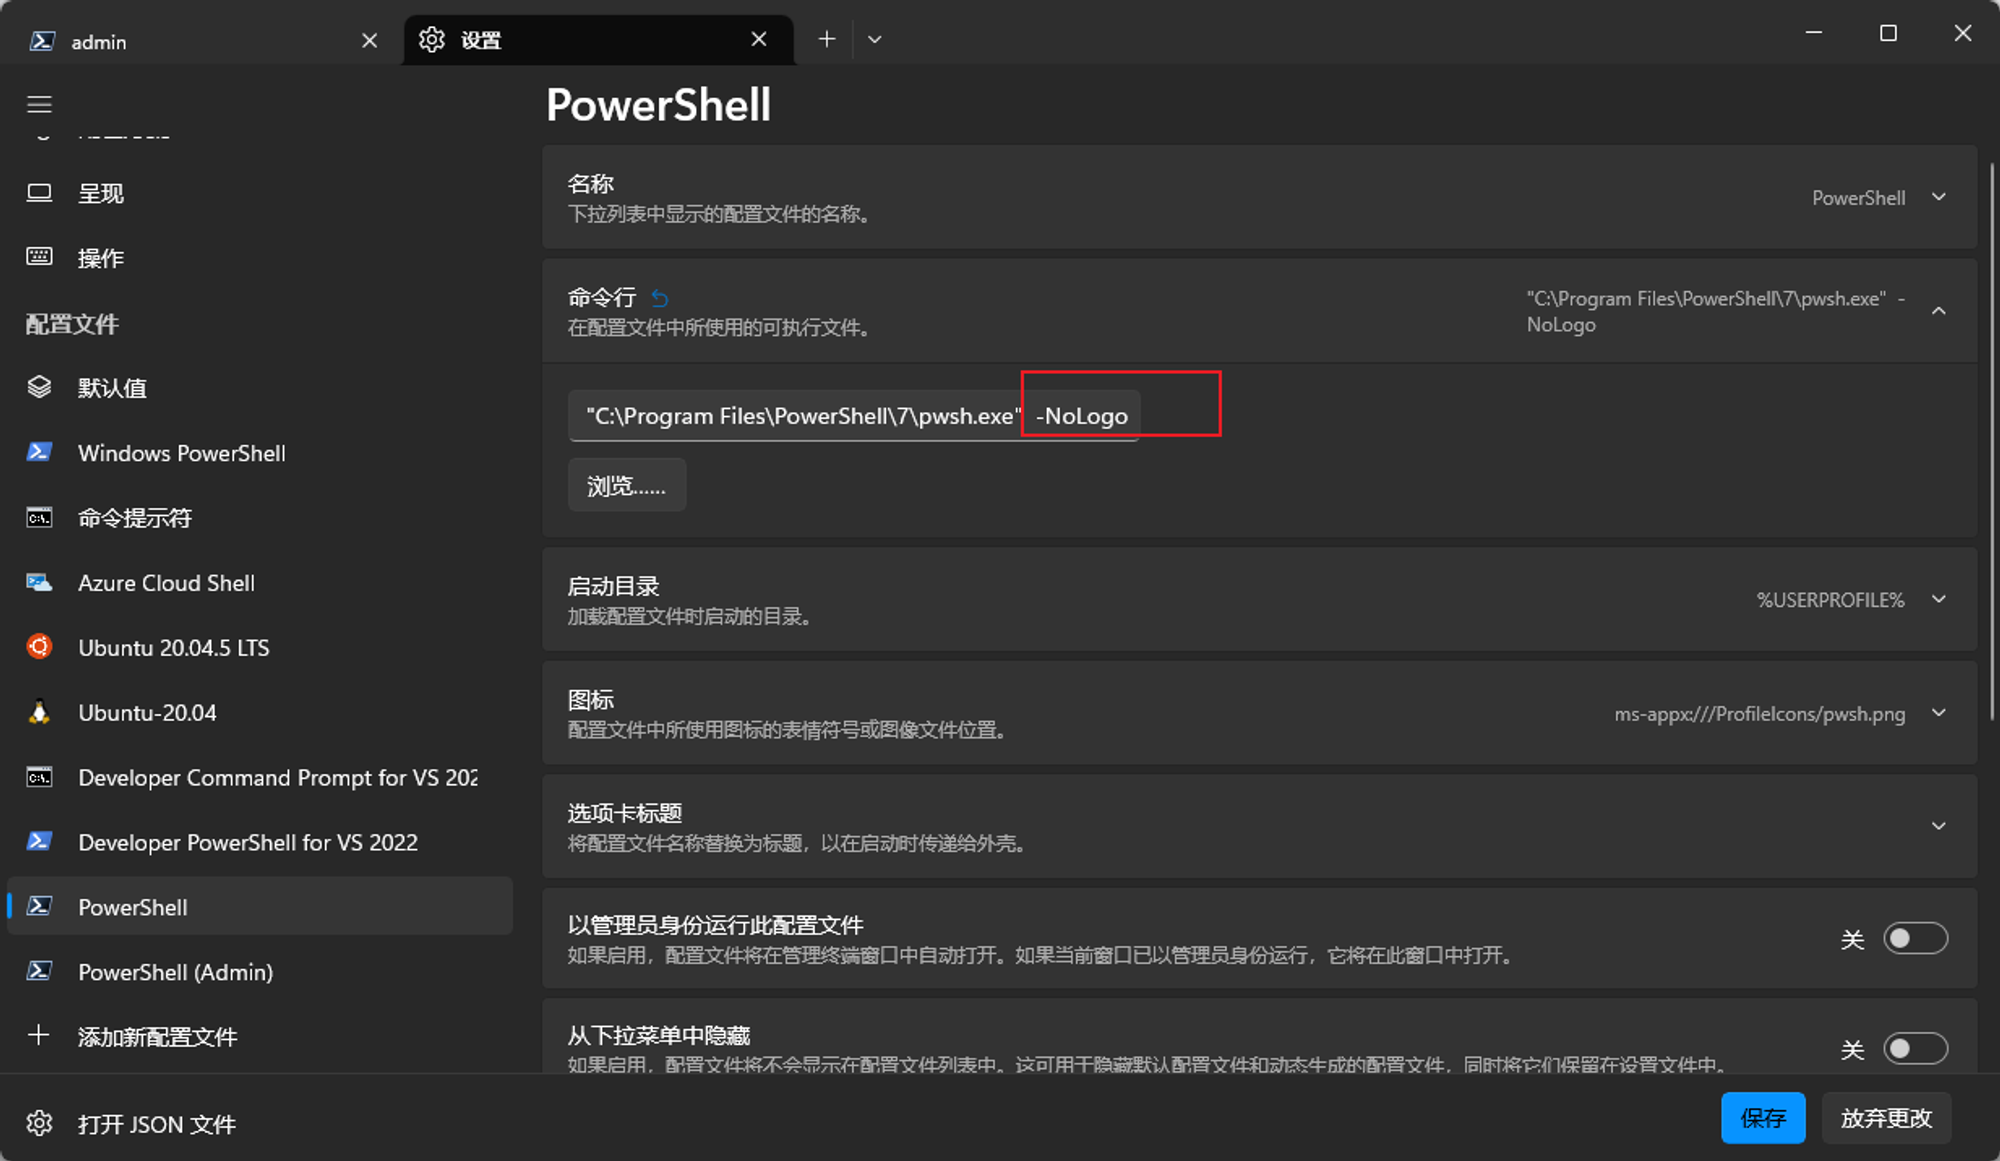
- 去掉每次启动时,PowerShell都输出的ugly的版本提示信息
插件相关
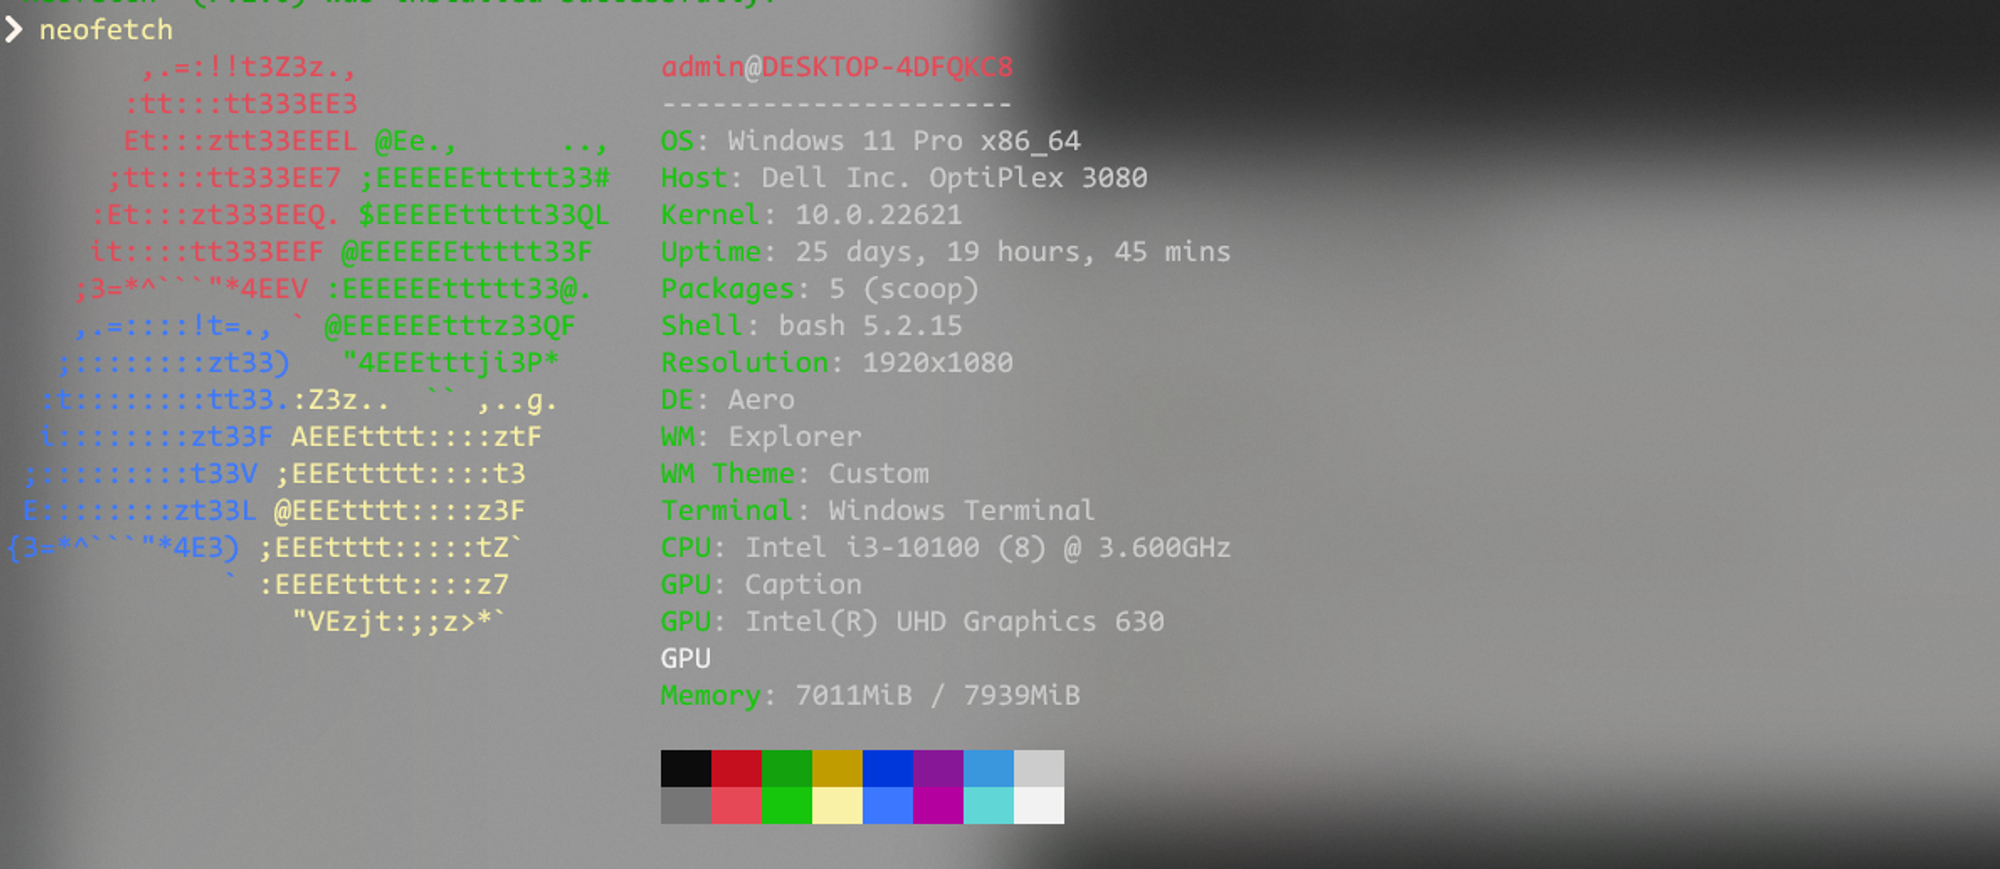
安装NeoFetch用来显示电脑配置
即使已经按照了git,还是要用scoop按照git,因为neofetch会直接使用scoop安装的git
- 如果在使用scoop中安装git提示找不到git,执行如下命令即可
最后执行
scoop bucket list的结果如下:
重新执行
scoop install git安装git即可- 成功安装neofetch的效果
安装posh-git插件
posh-git可以让Git指令用Tab键自动补全
- 最后在$PROFILE配置文件中启用posh-git配置
安装插件Zlocation
Zlocation类似autojump或是zsh-z的插件,可以用关键字直接跳转到想去资料夹,比cd更高效。
- 安装命令
- 在$PROFILE中加入如下内容以启用ZLocation
- 使用如下命令刷新配置使其生效

- ZLocation的常用命令
- 查看已知文件夹的位置:z
- 进入包含对应字符串的文件夹,可用用Tab键来选择具体的文件夹:z doc
- 回到之前的文件夹【这个功能真的方便,i了i了🤣】:z -
安装gsudo
可用用gsudo做到像Linux一样通过sudo命令获取系统管理员权限
- 在PowerShell执行如下命令进行安装
- 安装完成后,会询问是否用sudo来替代gsudo指令,个人建议选择Y
- 配置一个使用gsudo提权的PowerShell终端
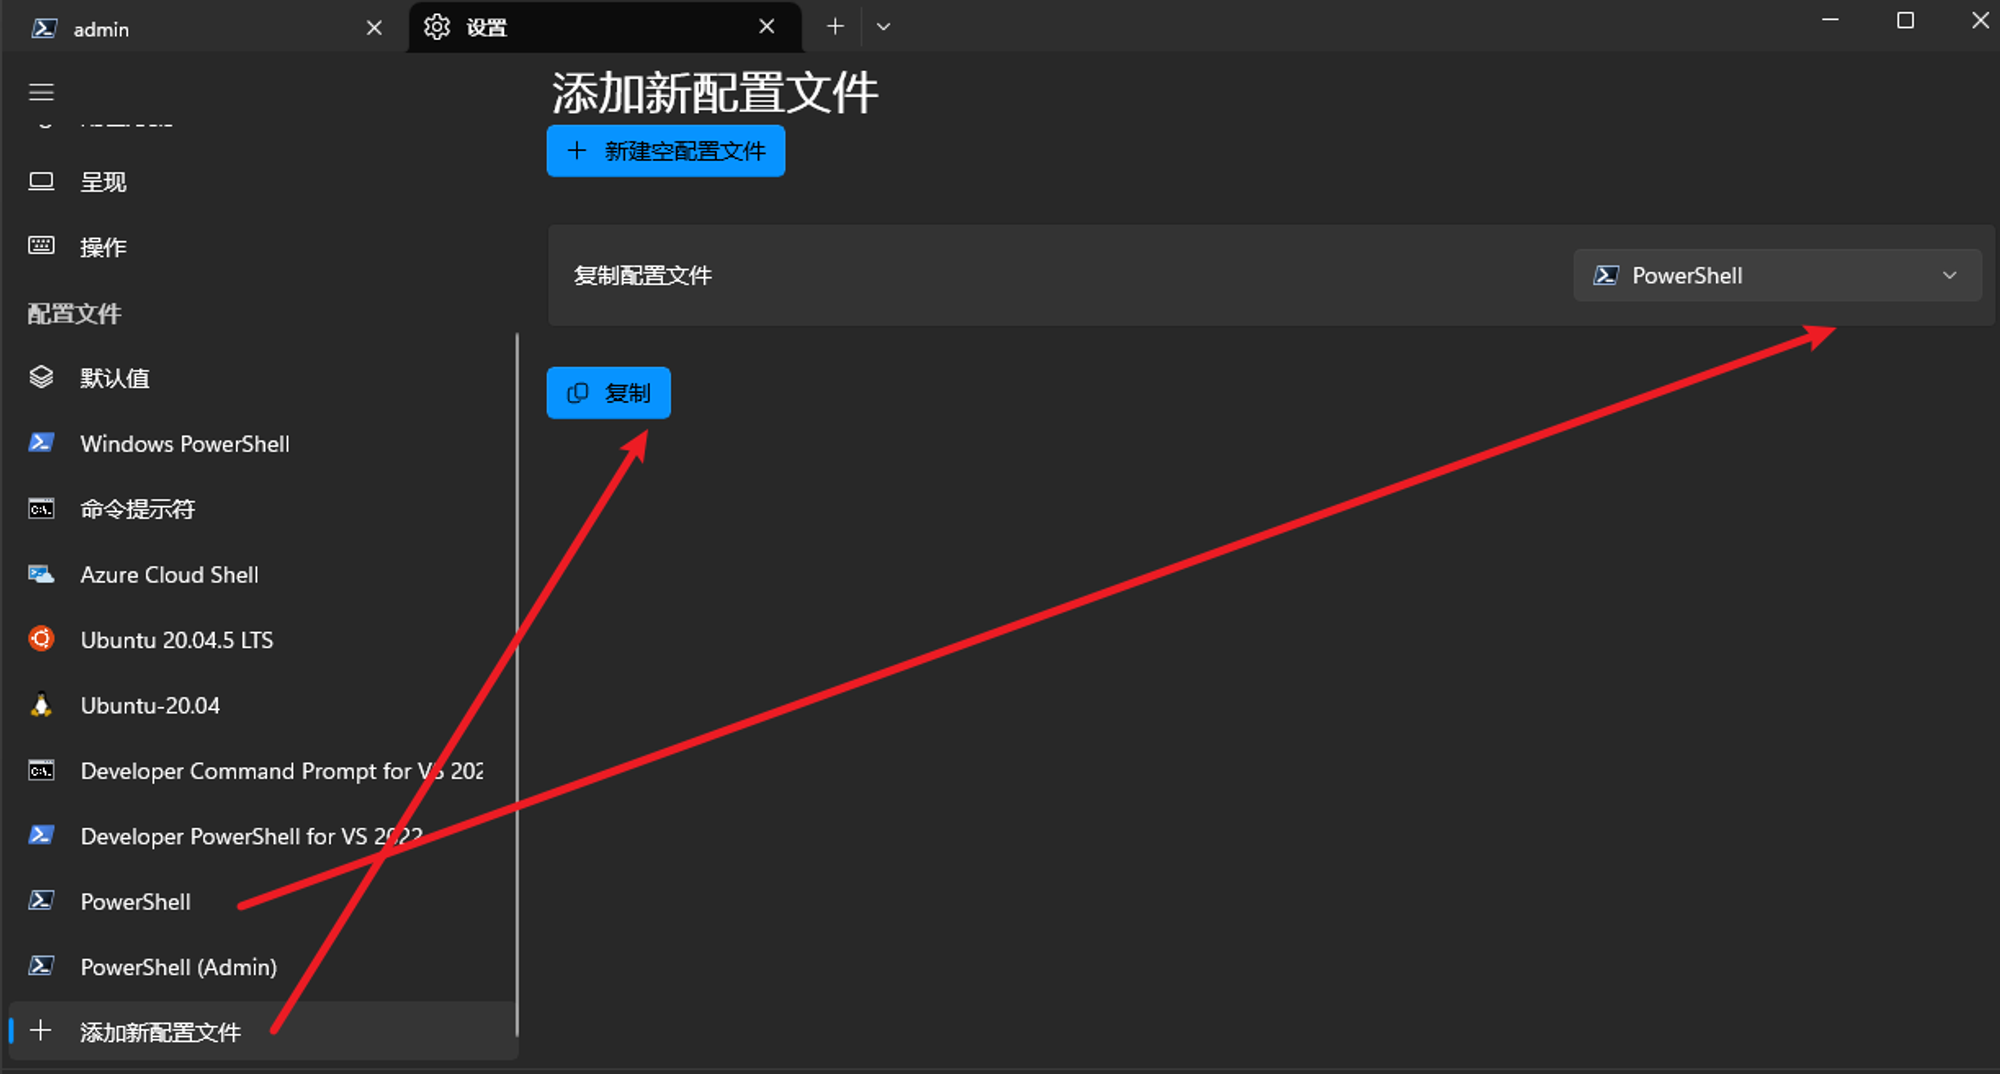
新建终端的主要配置改动如下:
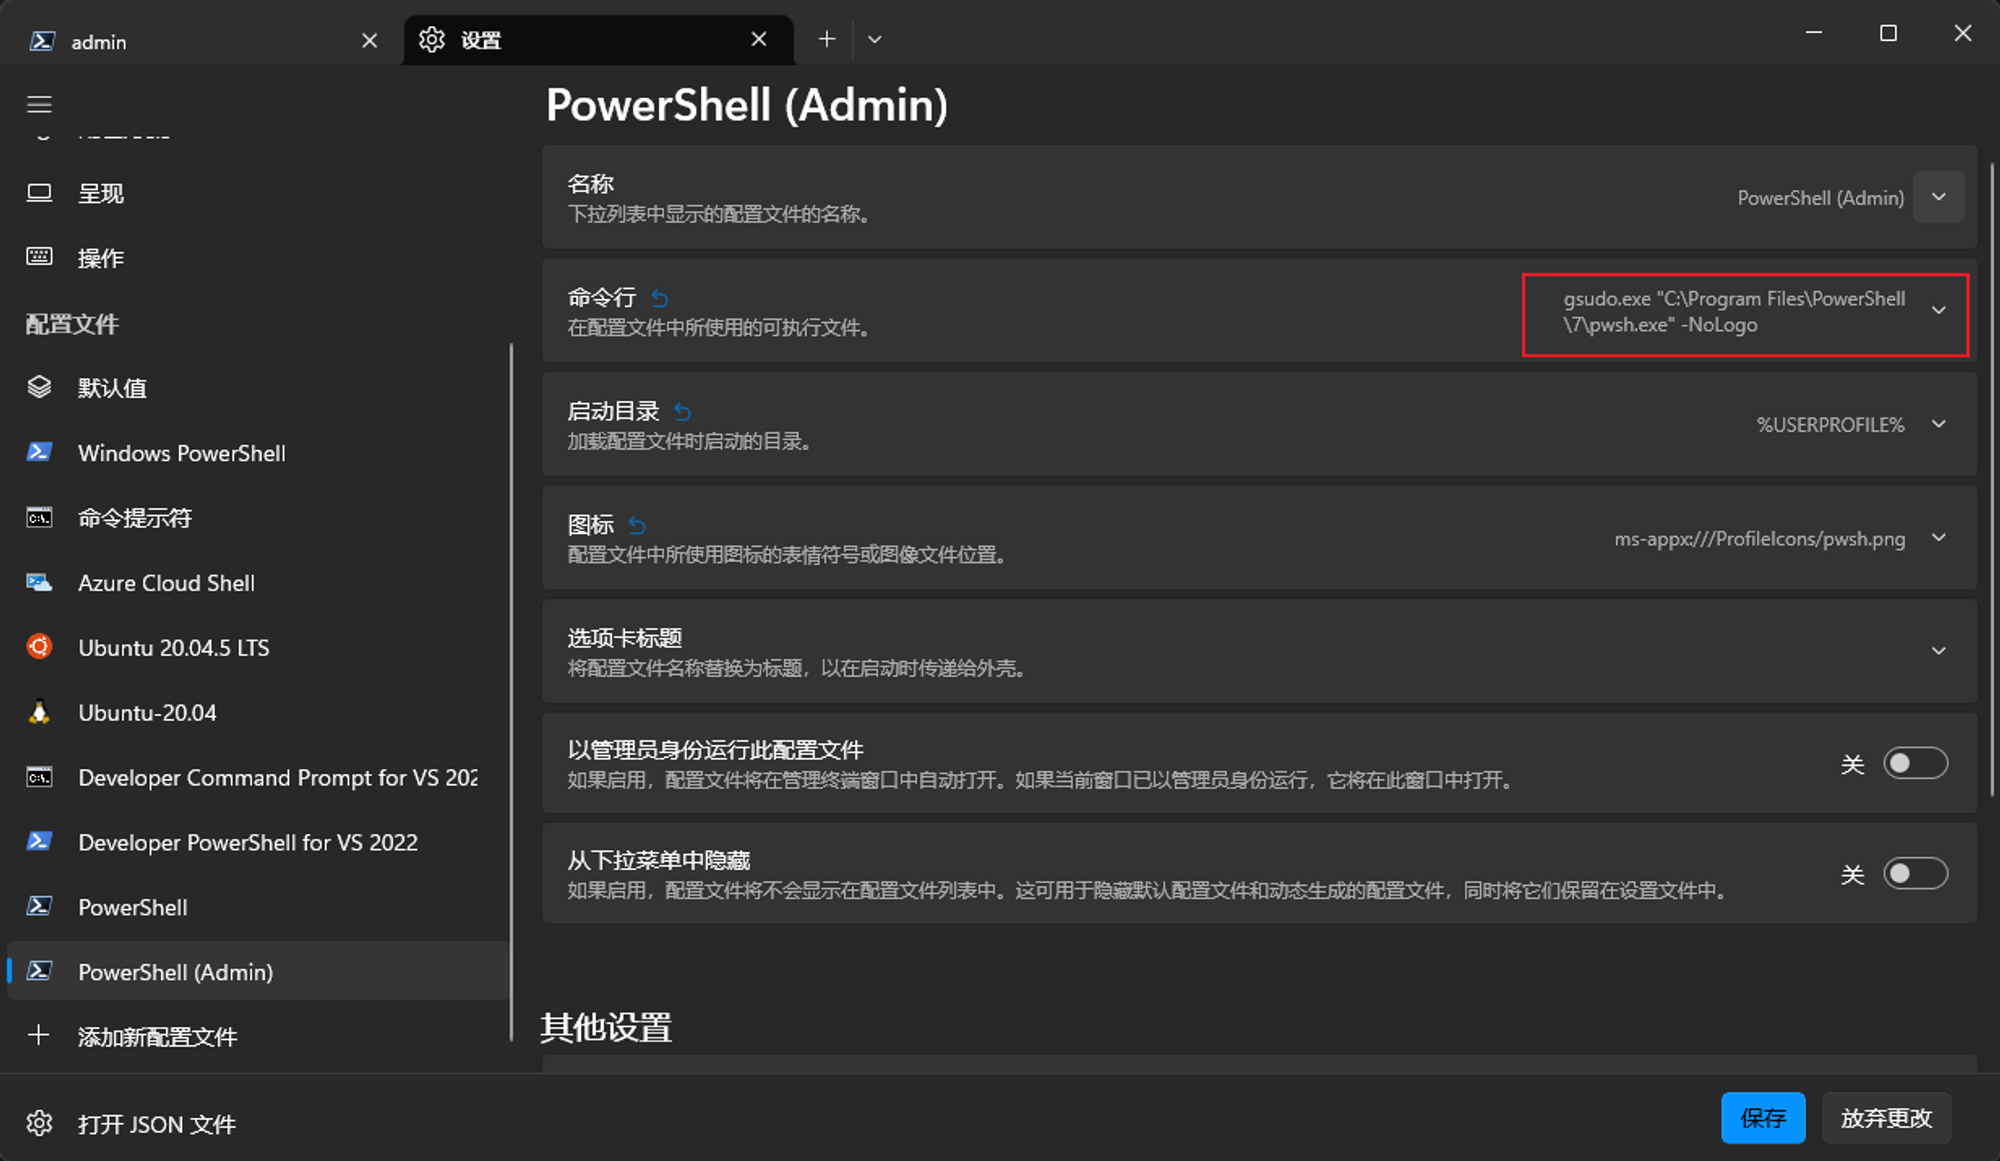
之后只要打开这个终端就直接拥有系统管理员权限了!
我的最终配置文件
- 作者:axiszql
- 链接:https://axiszql.com/article/windows11-terminal-dev
- 声明:本文采用 CC BY-NC-SA 4.0 许可协议,转载请注明出处。